Last updated: Sept 10th, 2024

Tools and Material Needed

This is the list of required tools and materials that are not provided but required for installation.

Tools
  • Drill
  • 9/64" Drill Bit
Materials
  • Hardware for mounting monitor if not provided.

Set Up

Complete these steps before plugging in your hubs.
Software/Web Application - Tattle Cloud

New Account
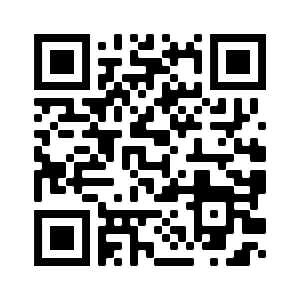
  • Go to https://tattlemonitors.com/account/new.php or use the QR Code below
  • After account set up
    • Log into account.
    • Go to menubar->networks->walk-thru.
    • Follow the on-screen instructions.
screenshot
Existing Account
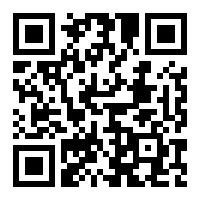
  • https://cloud.tattlemonitors.com/login.php or use the QR Code below
  • After account login
    • Log into account.
    • Go to menubar->networks->walk-thru.
    • Follow the on-screen instructions.
screenshot

Hubs Set-up

  1. Attach antenna to your hub.
  2. Attach power and plug-in.
  3. Loosen four screws on top of hub and remove cover.
  4. Observe LED light.
    • If LED is blinking blue then continue.
    • If the LED is not blinking blue, hold down the red reset button until the LED starts blinking, which should take approximately 5 seconds.
  5. Connect to the hub with a WiFi enabled device. (Computer, cell phone)
    • Go to the WiFi networks list on your device.
    • Select hub name that corresponds to the name on the of back of hub.
    • Use password on back of hub for connecting.
    • Click the pop-up notification, which should open a browser window.
    • If browser window does not open, go to web browser on your device and type in 172.217.27.1 in url.
    • Select your WiFi network and enter the password for the network in window.
    • Scroll to bottom of window and click "Save".
  6. LED should now be solid green which shows your connected to the cloud.
  7. If the LED is anything but green, go back to step 4 and try again.
  8. Reattach cover.

Tip:

If LED does not turn solid green and you have entered all of your information correctly, go to troubleshooting.

Monitors Set-up

  1. Attach antenna.
  2. Loosen screws on top of monitor and remove the cover.
  3. If batteries are not installed, install them now.
  4. Move power switch from left to right. You'll see "ON" on the board.
  5. Reattach the cover.
  6. Install monitor onto mitigation system.

Troubleshooting

Hubs Set-up

Enter Setup Mode
  • Hold Red CFG button down until LED Flashes Blue (apx 6 seconds).
LED Color Codes
  • 1 Red Flash - Error communicating with wireless module.
  • 3 Red Flashes - Error communicating with cloud.
  • 4 Red Flashes - Unable to connect to WiFi.
  • Yellow Flash Repeats - Hub is booting.
  • Blue Flash Repeats - Hub is in setup mode.
  • Green Solid - Hub is connected to cloud.
  • White Flashing - Trying to connect to WiFi.
Hub keeps disconnecting from WI-FI
  • The most commom fix for this issue is to create a static/reserved ip addrees on router. You can find the the mac address needed for this ip address under Networks->(network name)->hubs->edit.

Video

Hub Set-Up
Monitor Set-Up
Setting Static/Reserved IP on Hub